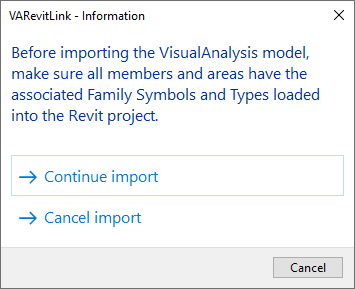

A VisualAnalysis project can be imported into a Revit project to bring over changes made to a previously exported model (see Exporting from Revit to VisualAnalysis) or to import new objects into a Revit project.
The VARevitLink makes use of Revit’s Analytical Model when importing the VisualAnalysis model. No changes to Revit's Physical Model will occur. Please consult the Revit documentation for managing the Analytical Model if you have questions about this.

When importing a VisualAnalysis project into Revit, the model geometry is used to match existing analytical elements and VA objects together. If the model geometry changes between the Export and Import process, the members will not be matched properly and may be re-imported into the Revit project as new objects. For this reason, it is imperative that the geometry of the Revit analytical model is well established if you plan to bring member changes back into Revit after performing an analysis within VisualAnalysis. The utmost care should be taken to ensure you have a good analytical model defined within Revit if the hope is to link the Revit and VA models together.
The VA objects imported to Revit are limited in order to retain the validity of the Revit model.
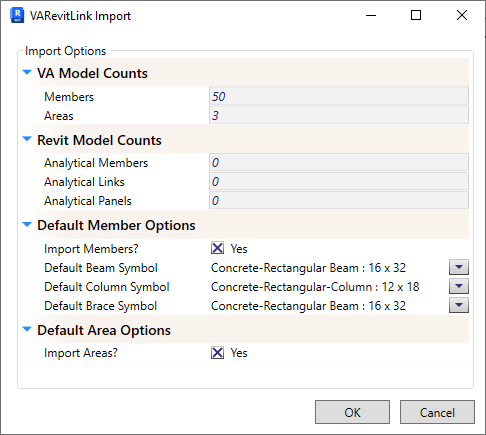
The Import Options shown below will provide information about the VA model you are importing and the current Revit model, as shown below. Additionally, you will be able to select whether you would like to Import Members and/or Areas, as well as setting the default Symbols and Types for VA members based on their framing type (Beams, Columns, and Braces).

Figure 5 - Import Options
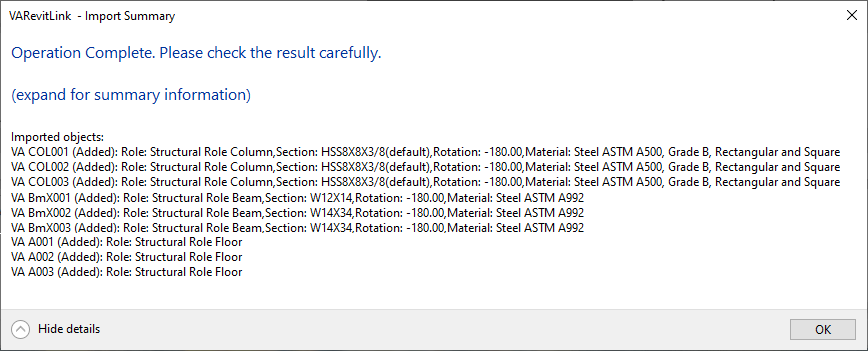
After the Import is complete, a summary of the operation will be displayed, similar to the one shown in Figure 5.

Figure 6 - Typical Import Summary
If you would like to "Round Trip" your project (e.g. model in Revit, analyze in VisualAnalysis, merge results back to Revit), the work flow outlined below should set you up for the Export - Import process.